This post describes getting OpenTrack head tracking up and running on Linux with Steam using a standard webcam as the input. You will need some basic knowledge of installing packages and compiling programs to get this working. You should already have required compilers, development packages/libraries etc. installed. This post does not step you through the process of installing these.
Install OpenTrack prerequisites. You need libopencv-dev or the equivalent for your distribution.This was the only package I had to install. I use OpenSUSE so:
sudo zypper in opencv opencv-devel
You need ONNX Runtime. Don’t use your distro’s package. Grab the latest release from https://github.com/microsoft/onnxruntime/releases. You need to extract this to a permanent location as it will be linked against at runtime.
Create a directory to hold the opentrack binaries and related files. Extract ONNX into this directory.
mkdir ~/opentrack
mv /path/to/download ~/opentrack
cd ~/opentrack
tar xzf onnxruntime-linux-x64-1.30.0.tgz
Cd to where ever you keep github repository clones and grab the Opentrack code:
cd ~/github
git clone https://github.com/opentrack/opentrack
cd opentrack
Configure to use onnx and wine
make clean
cmake -DONNXRuntime_DIR=~/opentrack/onnxruntime-linux-x64-1.30.0 \ -DSDK_WINE=ON
Build it
make -j$(nproc)
I just manually copy the completed build to the ~/opentrack directory but you could give an installation point as another cmake option.
cp -r install/* ~/opentrack
Run it:
~/opentrack/bin/opentrack
Select NeuralNet Tracker as the Input: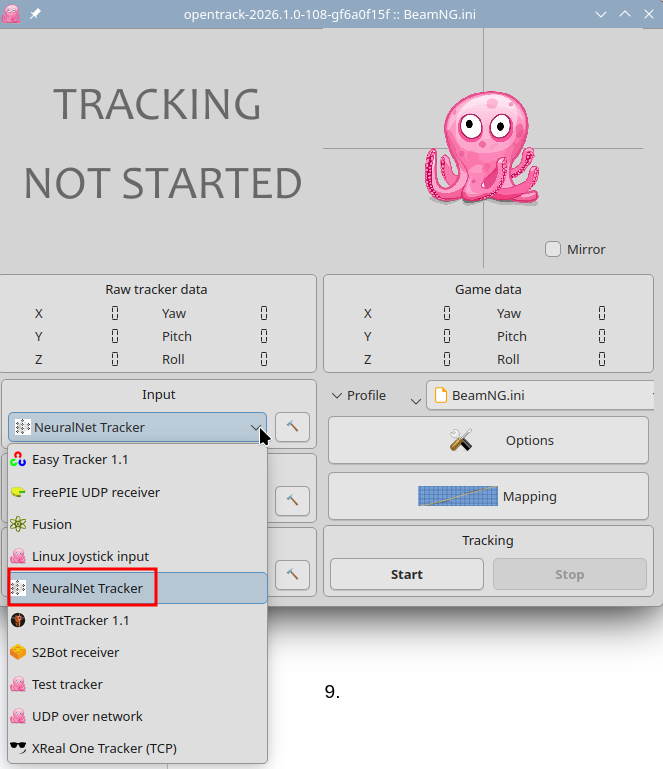
Click on the Hammer next to the NeuralNet Tracker and the select Tracker. If your webcam is connected, it should show up here. If it doesn’t you will need to work through getting it setup/recognised yourself.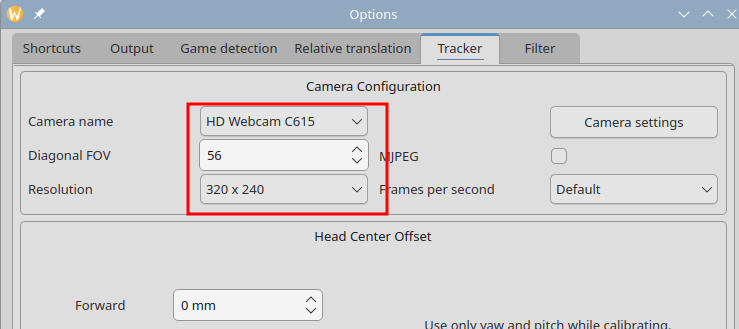
Select Wine - Windows layer for Unix as the Output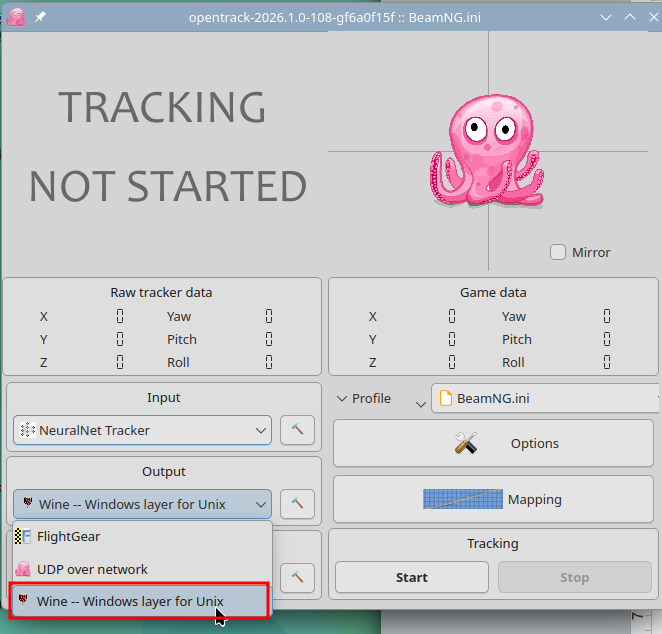
You will need to setup a Profile for each application you want to use it for. Click on the hammer next to the Output to open Wine settings: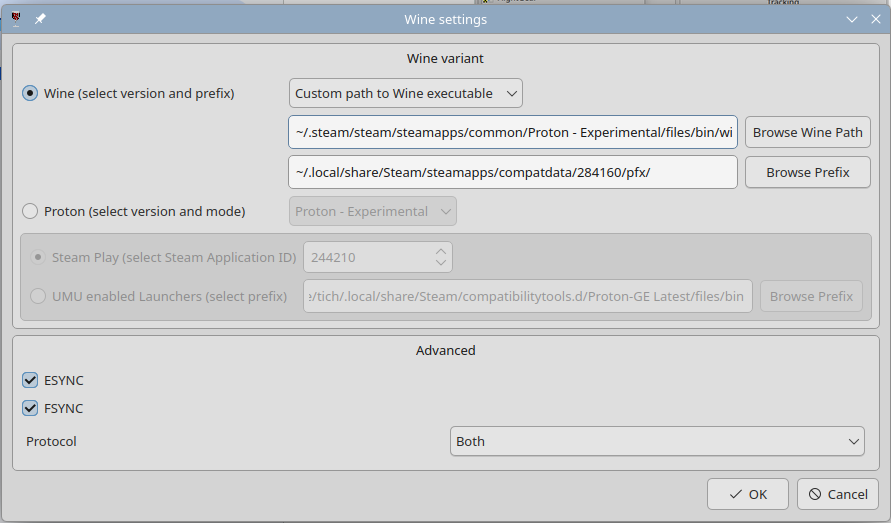
You need to put the path to the Proton version your application is using. I run BeamNG and Assetto Corsa using Proton Experimental so for me the Wine Path is:
~/.steam/steam/steamapps/common/Proton - Experimental/files/bin/wine
The Prefix needs to be set to the Application ID/pfx path.
For BeamNG with a default install, this is
~/.local/share/Steam/steamapps/compatdata/284160/pfx/
For Assetto Corsa, use this: ~/.local/share/Steam/steamapps/compatdata/244210/pfx
Click on the Profile dropdown and select Create new copied config.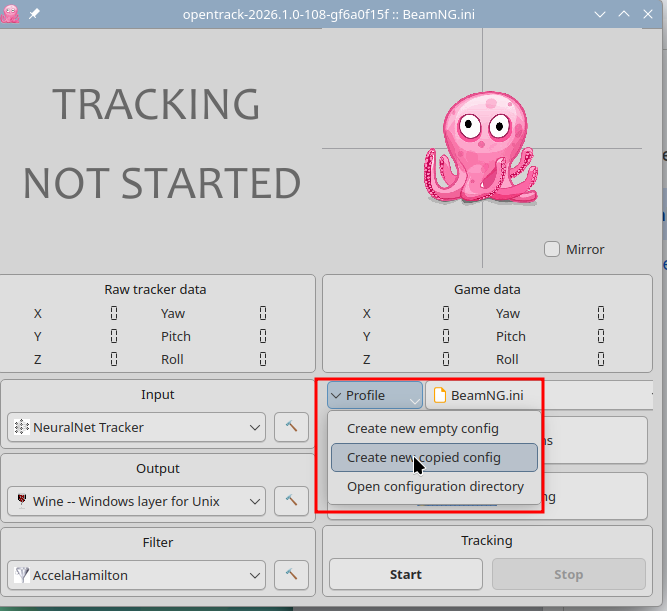
And give it a filename and click OK to save it.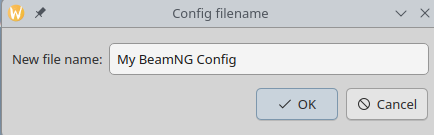
Click the Start button. You should see something like this.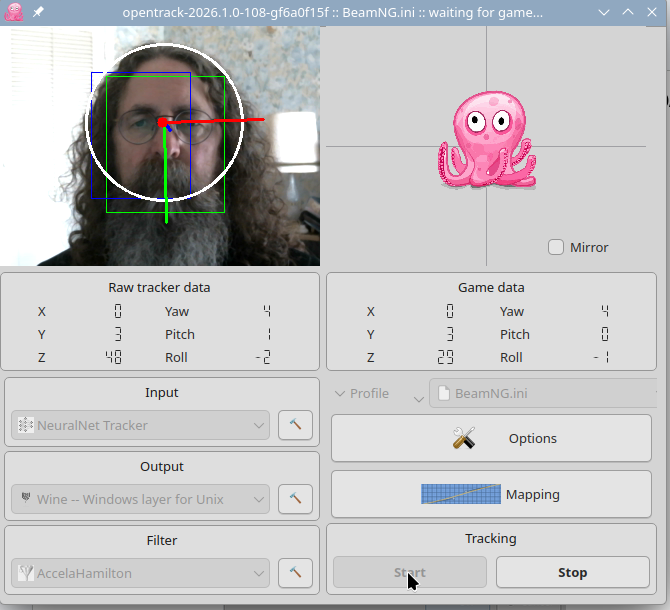
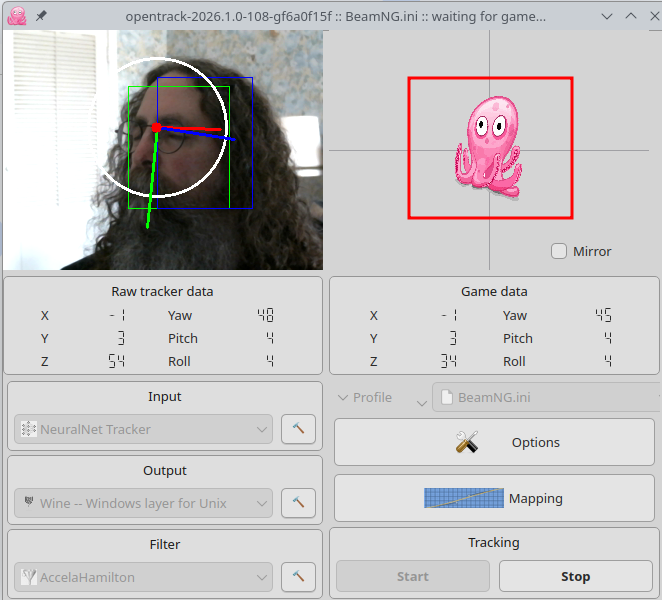
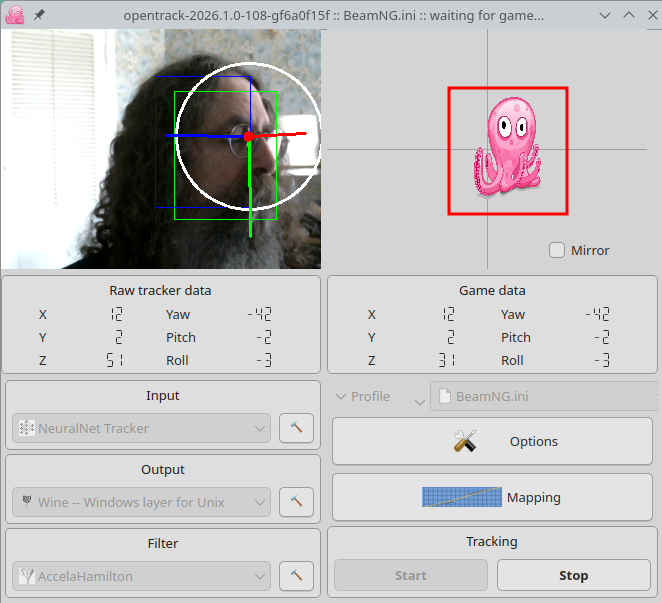
The octopus should move with you:
Getting BeamNG up and running
Click the Stop button. Steam applications will not start if head tracking is running.
Start BeamNG. When you reach the main screen, ALT-TAB to opentrack and click the Start button.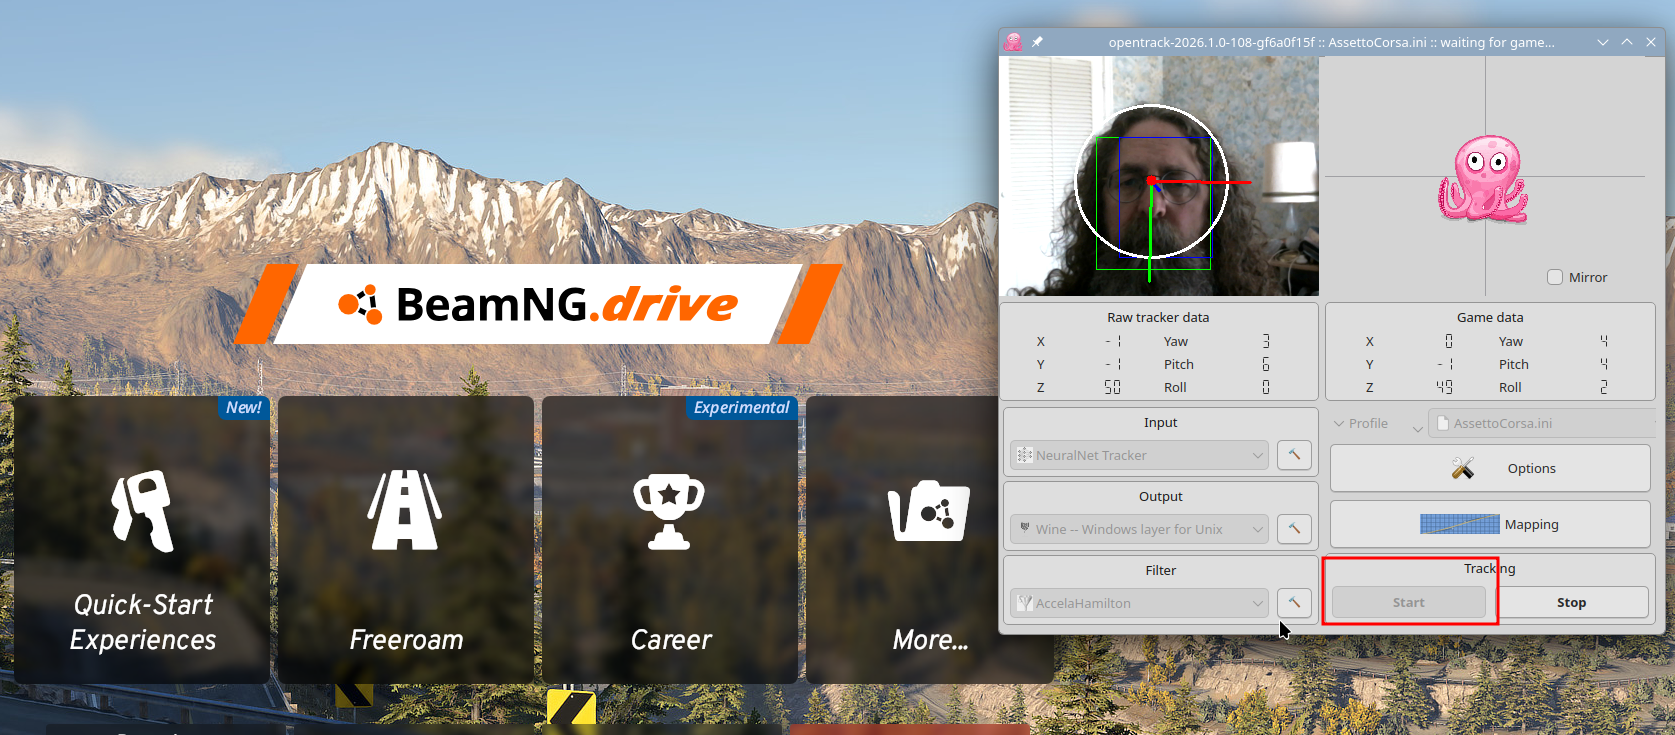
Start up some race/freeroam and look around: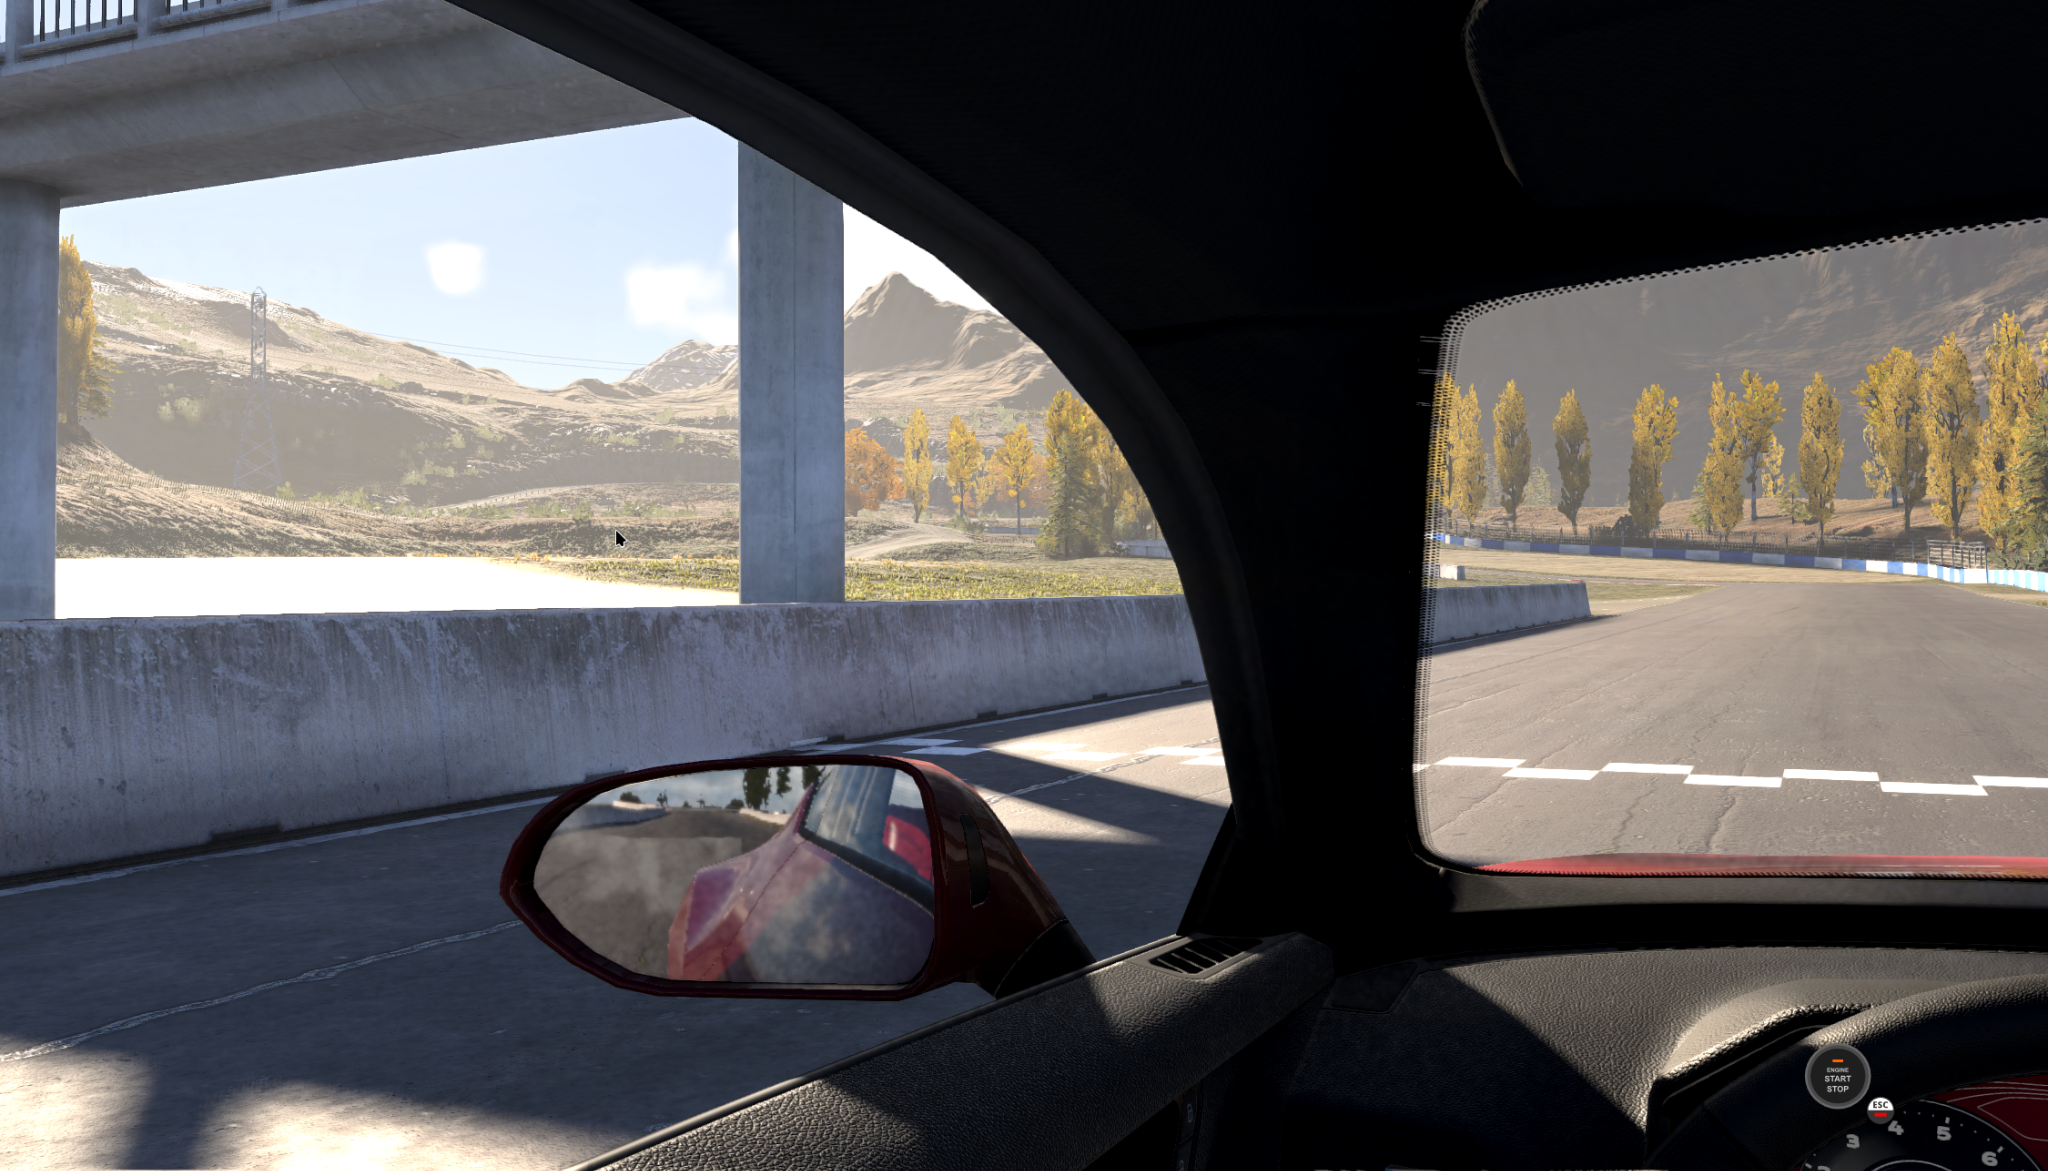
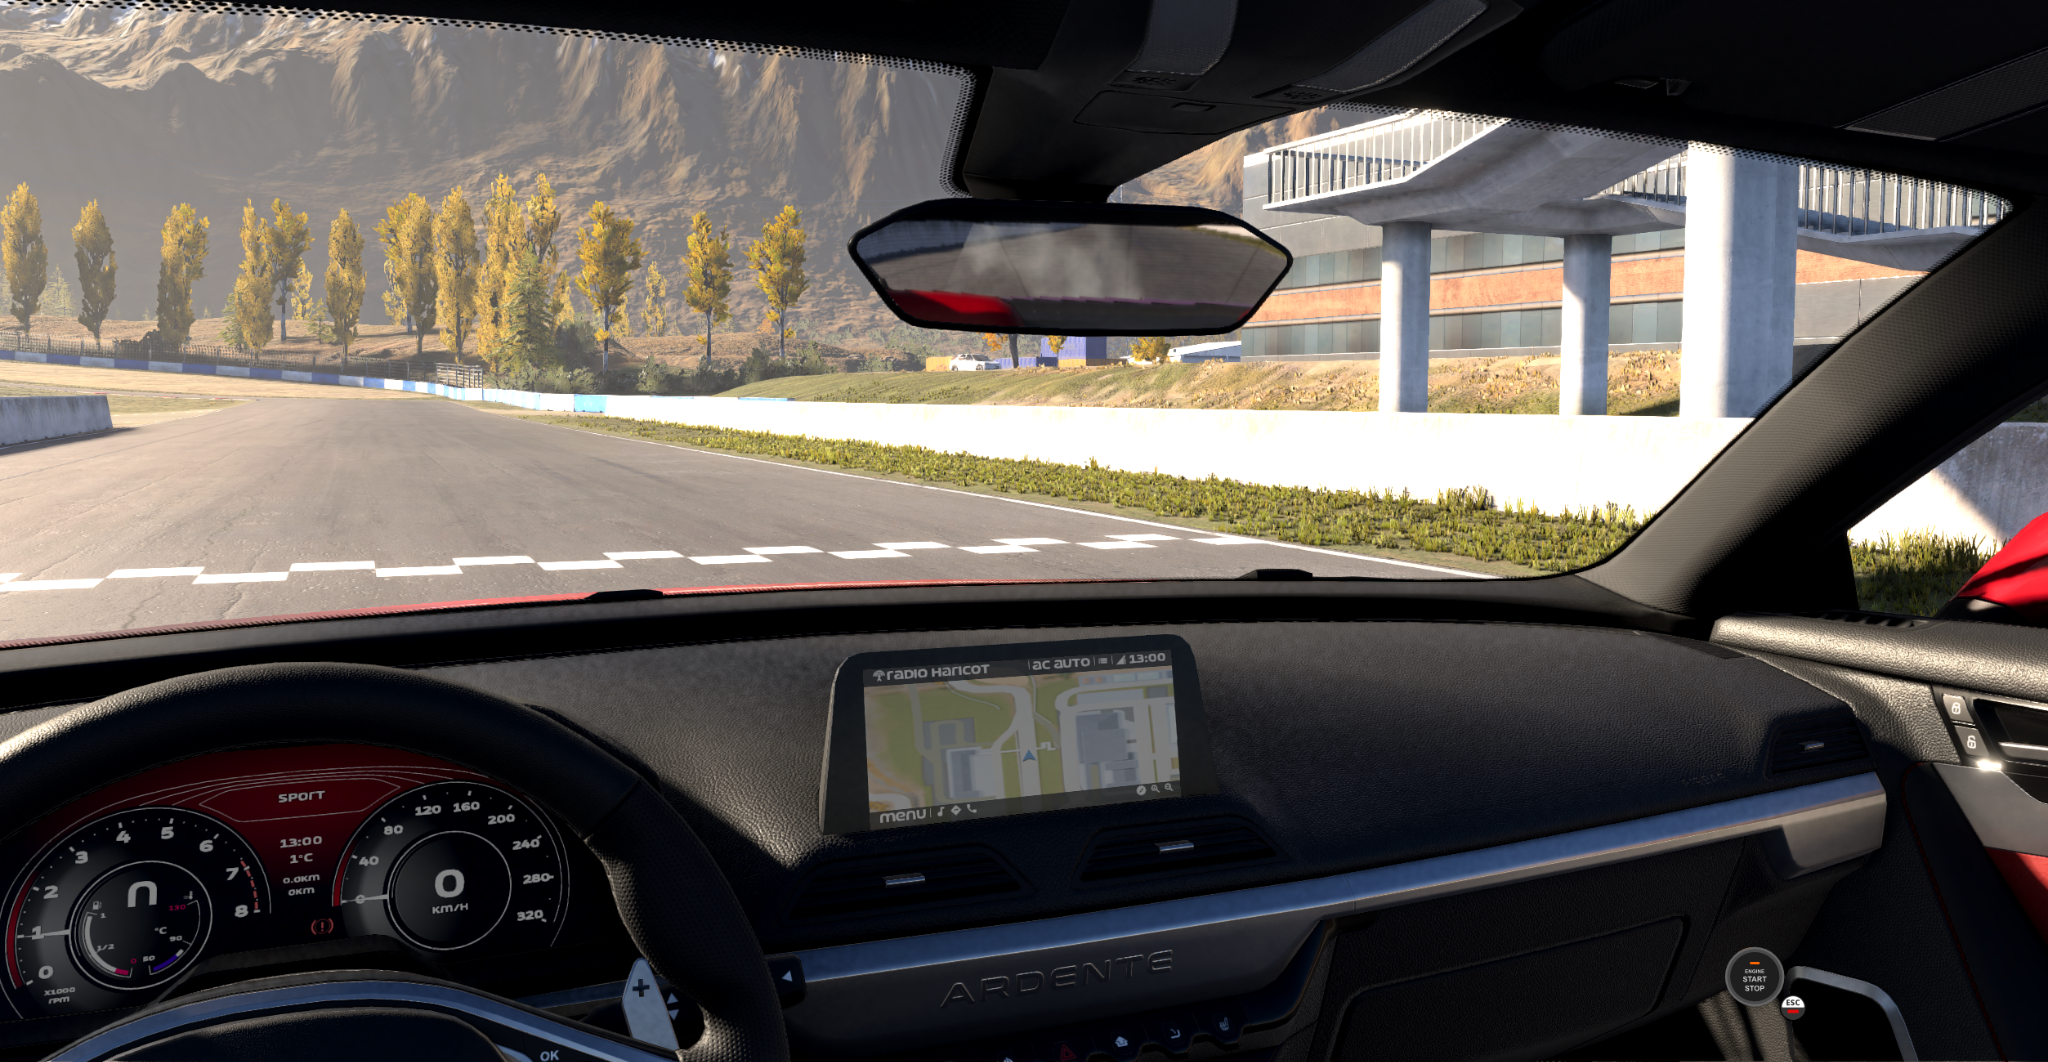
I had to adjust the view a bit as I was initially sitting behind the drivers seat which was less than useful. Stop tracking and click on the hammer next to the NeuralNet Tracker. Click on Output and then click into the Z parameter at the bottom right. I set this to -20 which works for me. You may need to experiment a bit with this to get the right position.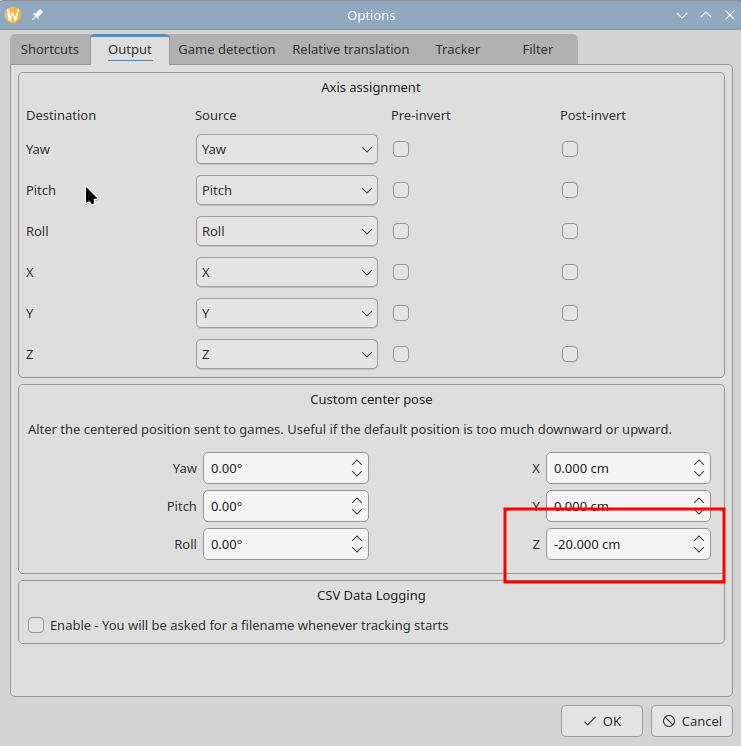
You can also play with the seat settings in the Camera -> Driver setup: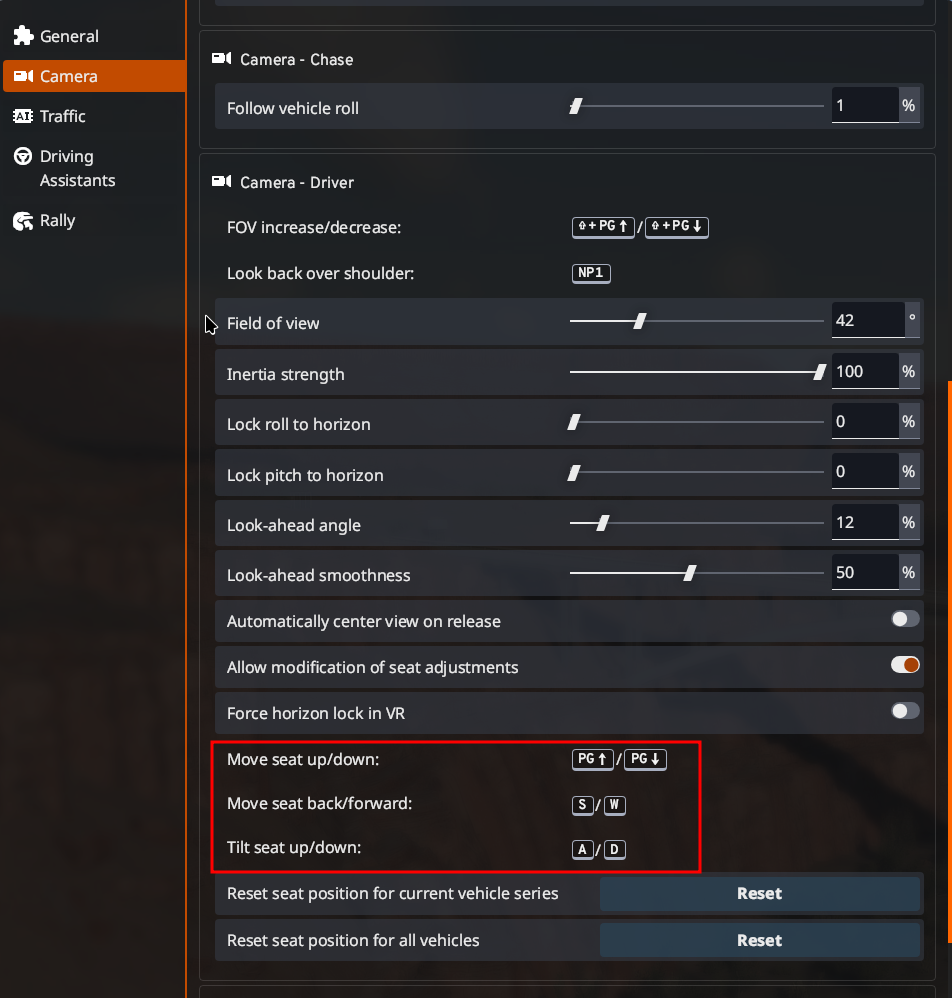
That’s it! You are on your own now!
Post your comment
You cannot post comments until you have logged in, and have an appropriate permission level. Login Here.
Comments
No one has commented on this page yet.
RSS feed for comments on this page | RSS feed for all comments